In this example I will be making a 4" wide welt. The first step is to draw on your garment with chalk where you want the welt to be placed. The horizontal line is where the two welt pieces will meet.
Cut out the pocket. It should be at least 2" wider than the welt.
Cut out a piece of fusable interfacing. Slightly heavier weight is better. In this example the size should be 2" in by 6" wide.
Iron to the back of your fabric.
Trim the edges off. The top will have a slight over hang. Apx 1/4".
I used a pencil to mark the 1/2 way point on the interfacing. ie 1" horizontal line.
Fold the top down so that the top edge of the interfacing matches the horizontal line and iron.
Flip the bottom edge of the interfacing up so that the bottom edge of the interfacing lines up with the horizontal line and iron. When you turn the fabric over, it will look like this and you will have the 1" wide folded section.
Open the welt back up. This picture is an example of the 1/4 inch horizontal sewing line you will be making in a moment. It is 1/4" from the top fold. You don't really need to mark the fabric because you can use your presser foot as the 1/4" guide.
Next fold the bottom edge back up and flip the fabric again to the other side... This mark is going to be another 1/4" sewing line. ie 1/4 in from the fold.
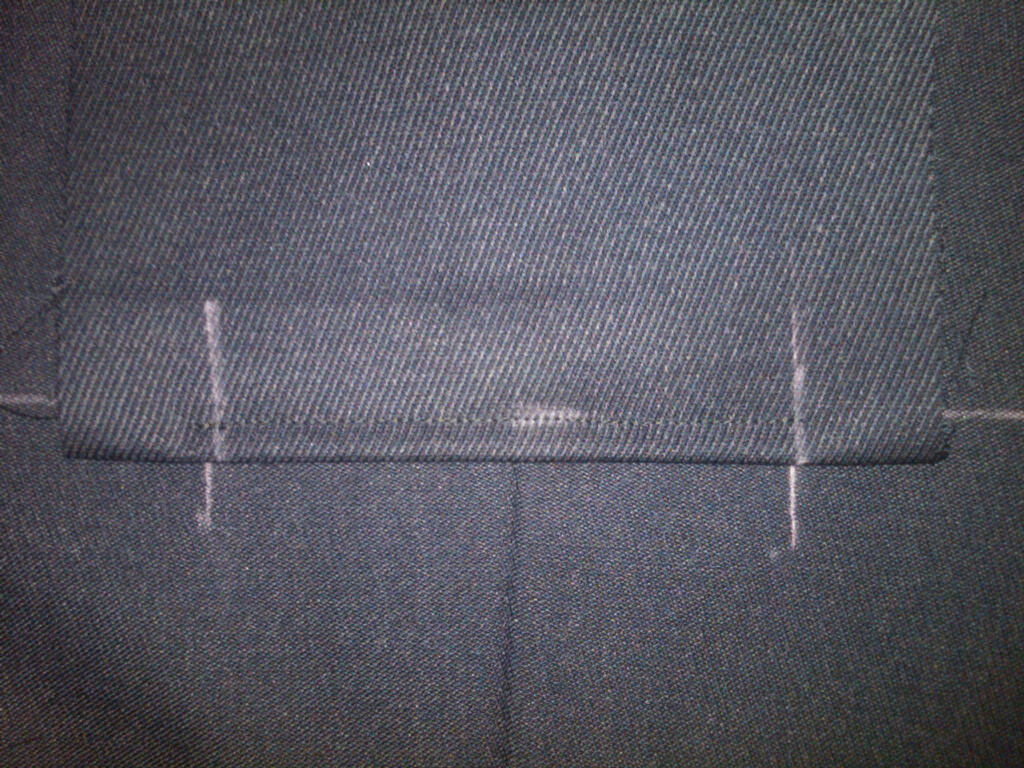
Next (I was a little sloppy) mark the left and right side of your welt. The two vertical lines should be 4 inches apart and 1 extra inch on either side.
Unfold so it looks like this and then you will place the welt piece so that the horizontal line on the interfacing will line up with the horizontal line on your garment. See below.
Lined up... and ready to sew the the first top horizontal line. Keep this exact placement. You will sew "exactly" from the left vertical line to the right vertical line.

The next step is to flip the bottom edge up. See below...
This is where I was sloppy. See how the vertial lines do not match up "exactly". In a case like this use the markings you made on the "garment" as the start and stop points.
Sew the second horizontal line 1/4" from the fold.
After you finish this step. Flip the garment over to see the wrong side of the garment. It should like like what I have pictured below.
In my next blog posting, I will show you how to finish the welt.